Storing fruit, veg and herbs like a pro!
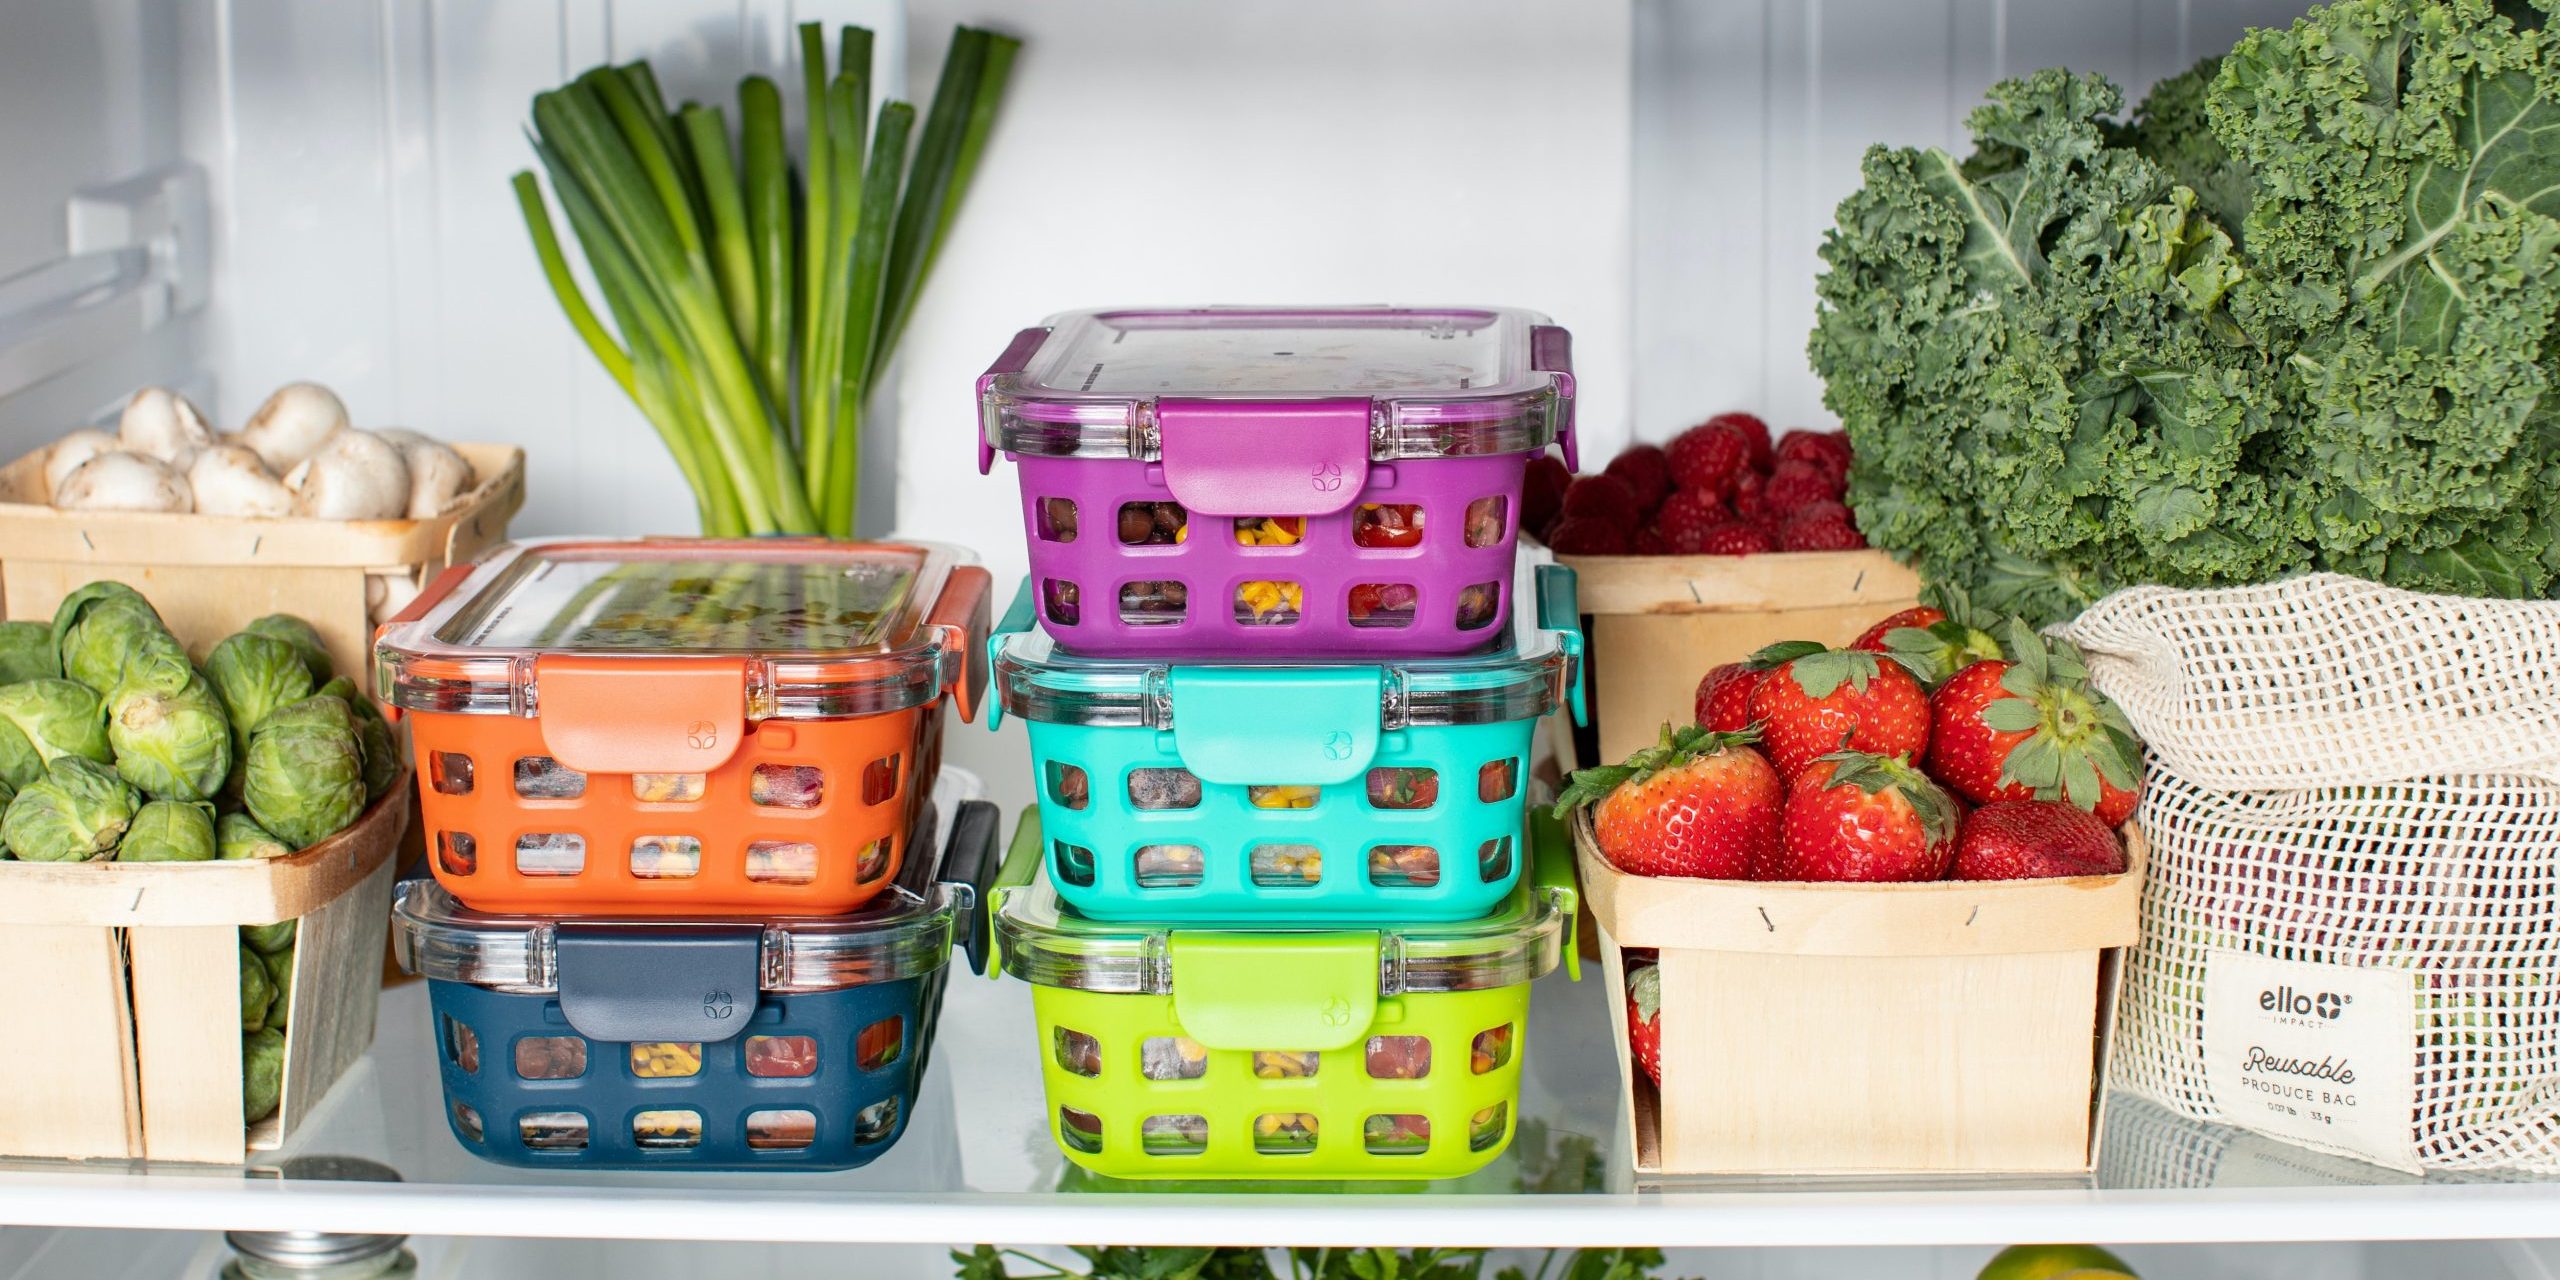
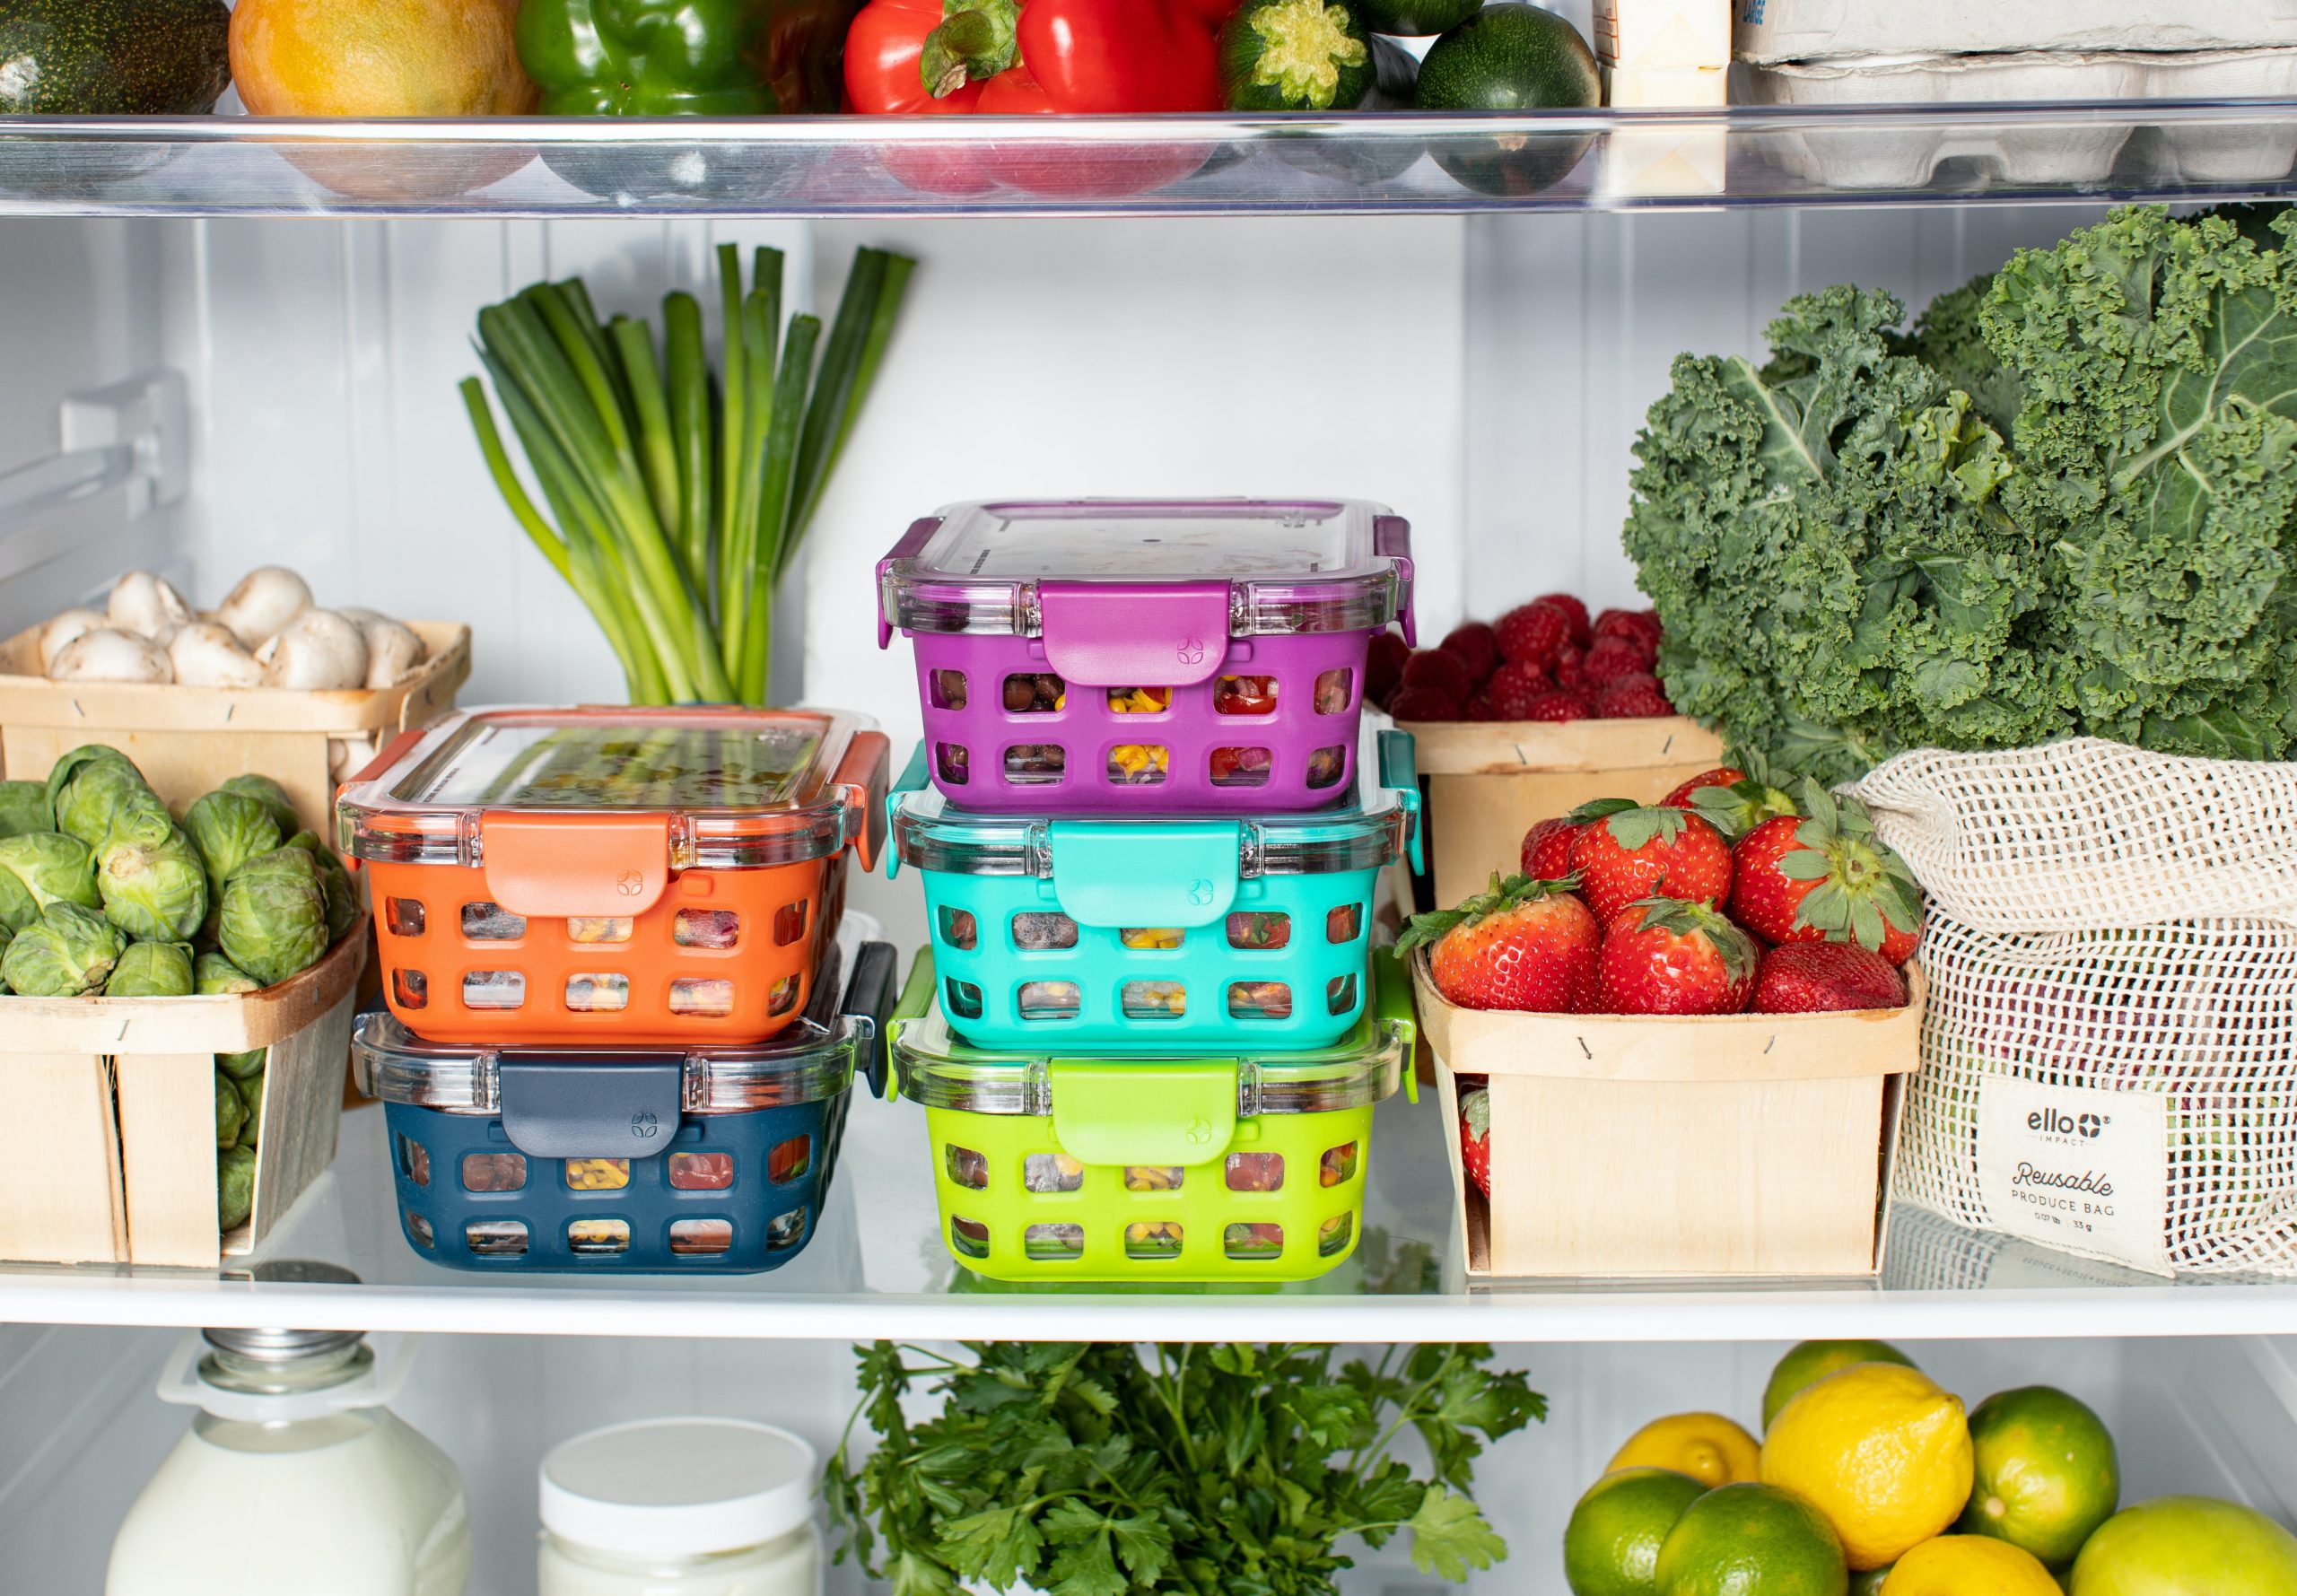
Fresh fruit, vegetables and herbs are healthy and delicious but are also some of the most commonly wasted foods. These tips will help you keep your five-a-day box in tip-top condition until you’re ready to eat them. All lush, no mush in your fridge and fruit bowl from now on.
Determining whether to store your fruits and veggies in or out of the fridge is really only half the battle. Some fruits and veggies should be stored separately no matter where they land. Ethylene gas, a natural gas that some fruits emit, can speed the ripening process of some (but not other) fruits and vegetables. This can sometimes be a good thing. Want to ripen your avocado faster? Store it next to a ripe banana in a paper bag and let the ethylene from the banana do its magic.
For our full storage instructions and life please see our list https://www.5adaybox.co.uk/storage/
Storage
- Bananas
- Basil
- Cucumber
- Aubergine
- Garlic
- Grapefruit
- Green beans
- Lemons
- Lime
- Onions
- Oranges
- Potatoes
- Squash
- Sweet potato
- Watermelon
- Winter squash
- Courgette
- Apricot
- Avocado
- Kiwi
- Mangoes
- Melons
- Nectarines
- Papayas
- Peaches
- Pears
- Pineapple
- Plums
- Apples
- Asparagus
- Blueberries
- Broccoli
- Brussel Sprouts
- Cabbage
- Carrots
- Cauliflower
- Cherries
- Coriander
- Corn
- Dark leafy greens
- Grapes
- Leeks
- Lettuce
- Mushrooms
- Parsley
- Peas
- Pomegranate
- Raspberries
- Strawberries
Potatoes are best kept in a cool, dry and dark cupboard. Don’t worry if they have started sprouting, just cut off any sprouts before using them.
Did you know that around 850,000 apples are thrown away a day in the UK! Apples last up to two weeks longer in the fridge, pop them in a sealed reusable container in the fridge.
Bananas ideally should be kept in a cool and dark place (but not the fridge) and should generally keep their distance from other fruit and veg. Sorry social distanced bananas!
You should always try to keep berries as cold as possible, so they definitely have to be refrigerated. Hold off on rinsing your berries until right before eating to preserve their full flavour.
A mushroom’s ideal home is in the fridge in a paper bag or the original packaging. Once opened, keep them fresh by covering them with a folded tea towel snugly like a blanket.
Moisture is the mortal enemy of these leafy heroes. Keep them fresher for longer in the fridge in their original packaging or in a container lined with a piece of kitchen towel.
Peppers last up to two weeks longer in their original packaging in the fridge. Only using part of a pepper? Keep peppers perky by leaving the stalk and seeds attached, then store in the fridge.
Celery will wilt as it loses water. Revive it in a refreshing bowl of ice water. And don’t forget to use those lovely leaves in a stew, stock or soup!
These are best stored in the fridge or on the counter to ripen them quickly. Only need half? Leave the stone in and sprinkle with lemon juice to prevent the other half from browning, then store in the fridge.
How to Store Cut Fruits & Vegetables
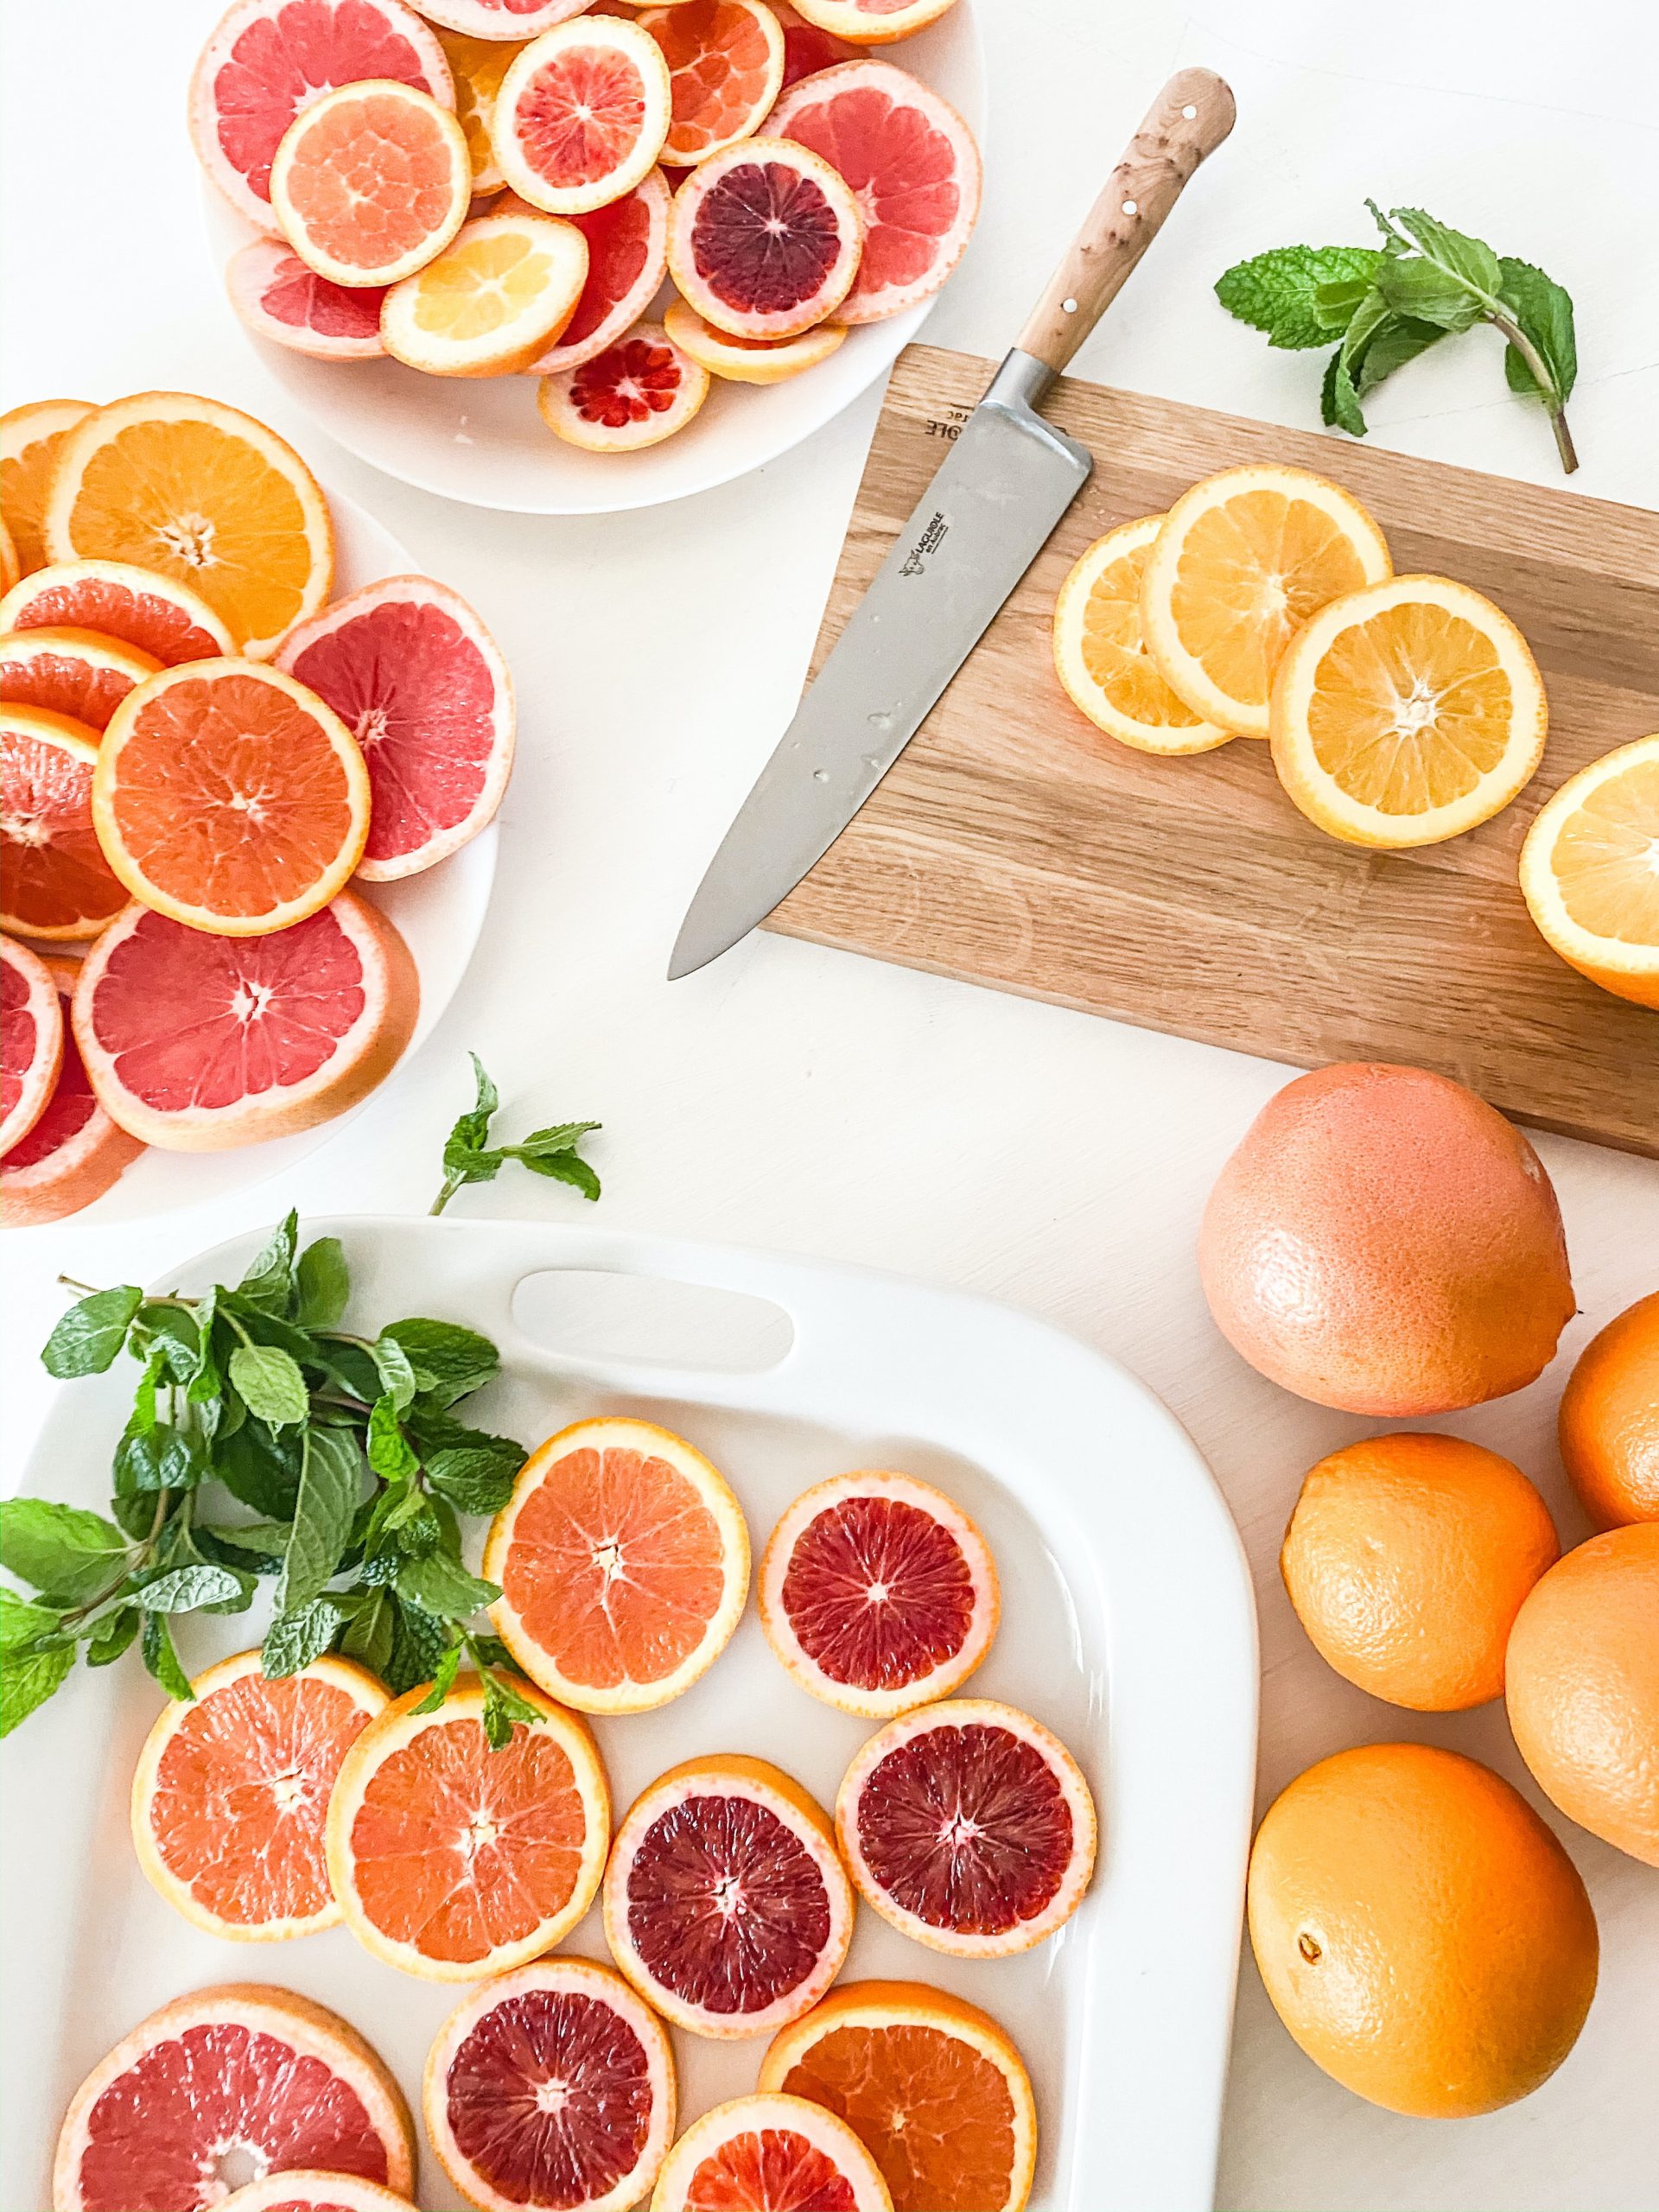
Sliced fruits and vegetables are great to have on hand for snacking and to save space in the fridge. Most fruits will last about 5 days after being sliced (some vegetables a few days longer) as long as you follow a few rules: store them in an airtight container and always refrigerate cut produce. Fruits like apples, pears, bananas and avocado are not the best candidates for slicing ahead of time since they brown quickly. Instead, store these ripe fruits (with the exception of the bananas) whole in your fridge bottom crisper drawer. The bottom crisper drawer keeps the moisture in check which, in turn, adds longevity to your produce.
Ensure you wash all your fruit and veg
It’s always a good idea to wash all of your fruits and vegetables before you eat them, even ones you peel. Bacteria that cause foodborne illness can cling to the surface of the fruit or vegetable. (Cantaloupes, in particular, have had problems with Salmonella.) Even if you’re not eating the skin or peel, bacteria may contaminate your cutting board and work their way into the flesh. The chances are pretty remote, but it’s better to be safe than sorry.
Did you know you can freeze it too? It’s a great way to save ingredients you can’t use in time.
Most vegetables should be blanched (briefly cooked in boiling water) before freezing. Fruit does not need to be blanched.
To blanch: Bring 4.5 litres of water per 450g of prepped vegetables to a boil in a large pot. Add the vegetables, cover, return to a boil and cook. See suggested blanching time for vegetables below.
Transfer the vegetables to a large bowl of ice water. Drain well; pat dry and spread fruit or vegetables in a single layer on a large baking sheet and freeze until solid.
Pack the frozen vegetables or fruit into freezer bags. Or pack fruits and vegetables in bags that are made to use with a vacuum sealer and seal them airtight before storing them in the freezer.
Guideline for Prepping, Blanching & Reheating
Prep: Trim woody ends | Blanching time: 2-3 mins | Reheat from frozen (microwave): 1-2 mins | Reheat from frozen (steaming): 2-3 mins
Prep: Remove seeds, cut into 1/2 inch pieces | Blanching time: 2-3 mins | Reheat from frozen (microwave): 1-2 mins | Reheat from frozen (steaming): 2-3 mins
Prep: Wash and pat dry | Blanching time: N/A | Reheat from frozen (microwave): N/A | Reheat from frozen (steaming): N/A
Prep: Cut into 1-inch florets | Blanching time: 3 mins | Reheat from frozen (microwave): 2-4 mins | Reheat from frozen (steaming): 2-4 mins
Prep: Remove outer leaves, trim stems. Halve small sprouts or quarter larger. | Blanching time: 2-3 mins | Reheat from frozen (microwave): 2-4 mins | Reheat from frozen (steaming): 4-6 mins
Prep: Peel & cut into 1/4 inch slices or cubes | Blanching time: 2 mins | Reheat from frozen (microwave): 1-2 mins | Reheat from frozen (steaming): 2-3 mins
Prep: Remove stems and pits. | Blanching time: N/A | Reheat from frozen (microwave): N/A | Reheat from frozen (steaming): N/A
Prep: Cut into 1/2 inch slices | Blanching time: 2-3 mins | Reheat from frozen (microwave): 1-2 mins | Reheat from frozen (steaming): 2-3 mins
Prep: Remove any woody stems. Chop if desired | Blanching time: 2-3 mins | Reheat from frozen (microwave): 1-2 mins | Reheat from frozen (steaming): 2-3 mins
Prep: Trim ends | Blanching time: 3 mins | Reheat from frozen (microwave): 1-2 mins | Reheat from frozen (steaming): 2-3 mins
Prep: Remove pit. Cut into sixths | Blanching time: N/A | Reheat from frozen (microwave): N/A | Reheat from frozen (steaming): N/A
Prep: Remove any fibrous stems, remove shelling peas from pods | Blanching time: 1-2 mins | Reheat from frozen (microwave): 1-2 mins | Reheat from frozen (steaming): 2-3 mins
Prep: Trim woody ends; cut into 1-inch pieces | Blanching time: N/A | Reheat from frozen (microwave): N/A | Reheat from frozen (steaming): N/A
Prep: Husk corn and remove kernels | Blanching time: 2 mins | Reheat from frozen (microwave): 1-2 mins | Reheat from frozen (steaming): 2-3 mins
Prep: Cut into 1/2 inch slices | Blanching time: 2-3 mins | Reheat from frozen (microwave): 1-2 mins | Reheat from frozen (steaming): 2-3 mins
Prep: Remove the stem and hull. Cut large ones in half | Blanching time: N/A | Reheat from frozen (microwave): N/A | Reheat from frozen (steaming): N/A
Prep: Remove the core | Blanching time: N/A | Reheat from frozen (microwave): N/A | Reheat from frozen (steaming): N/A
Storing Herbs
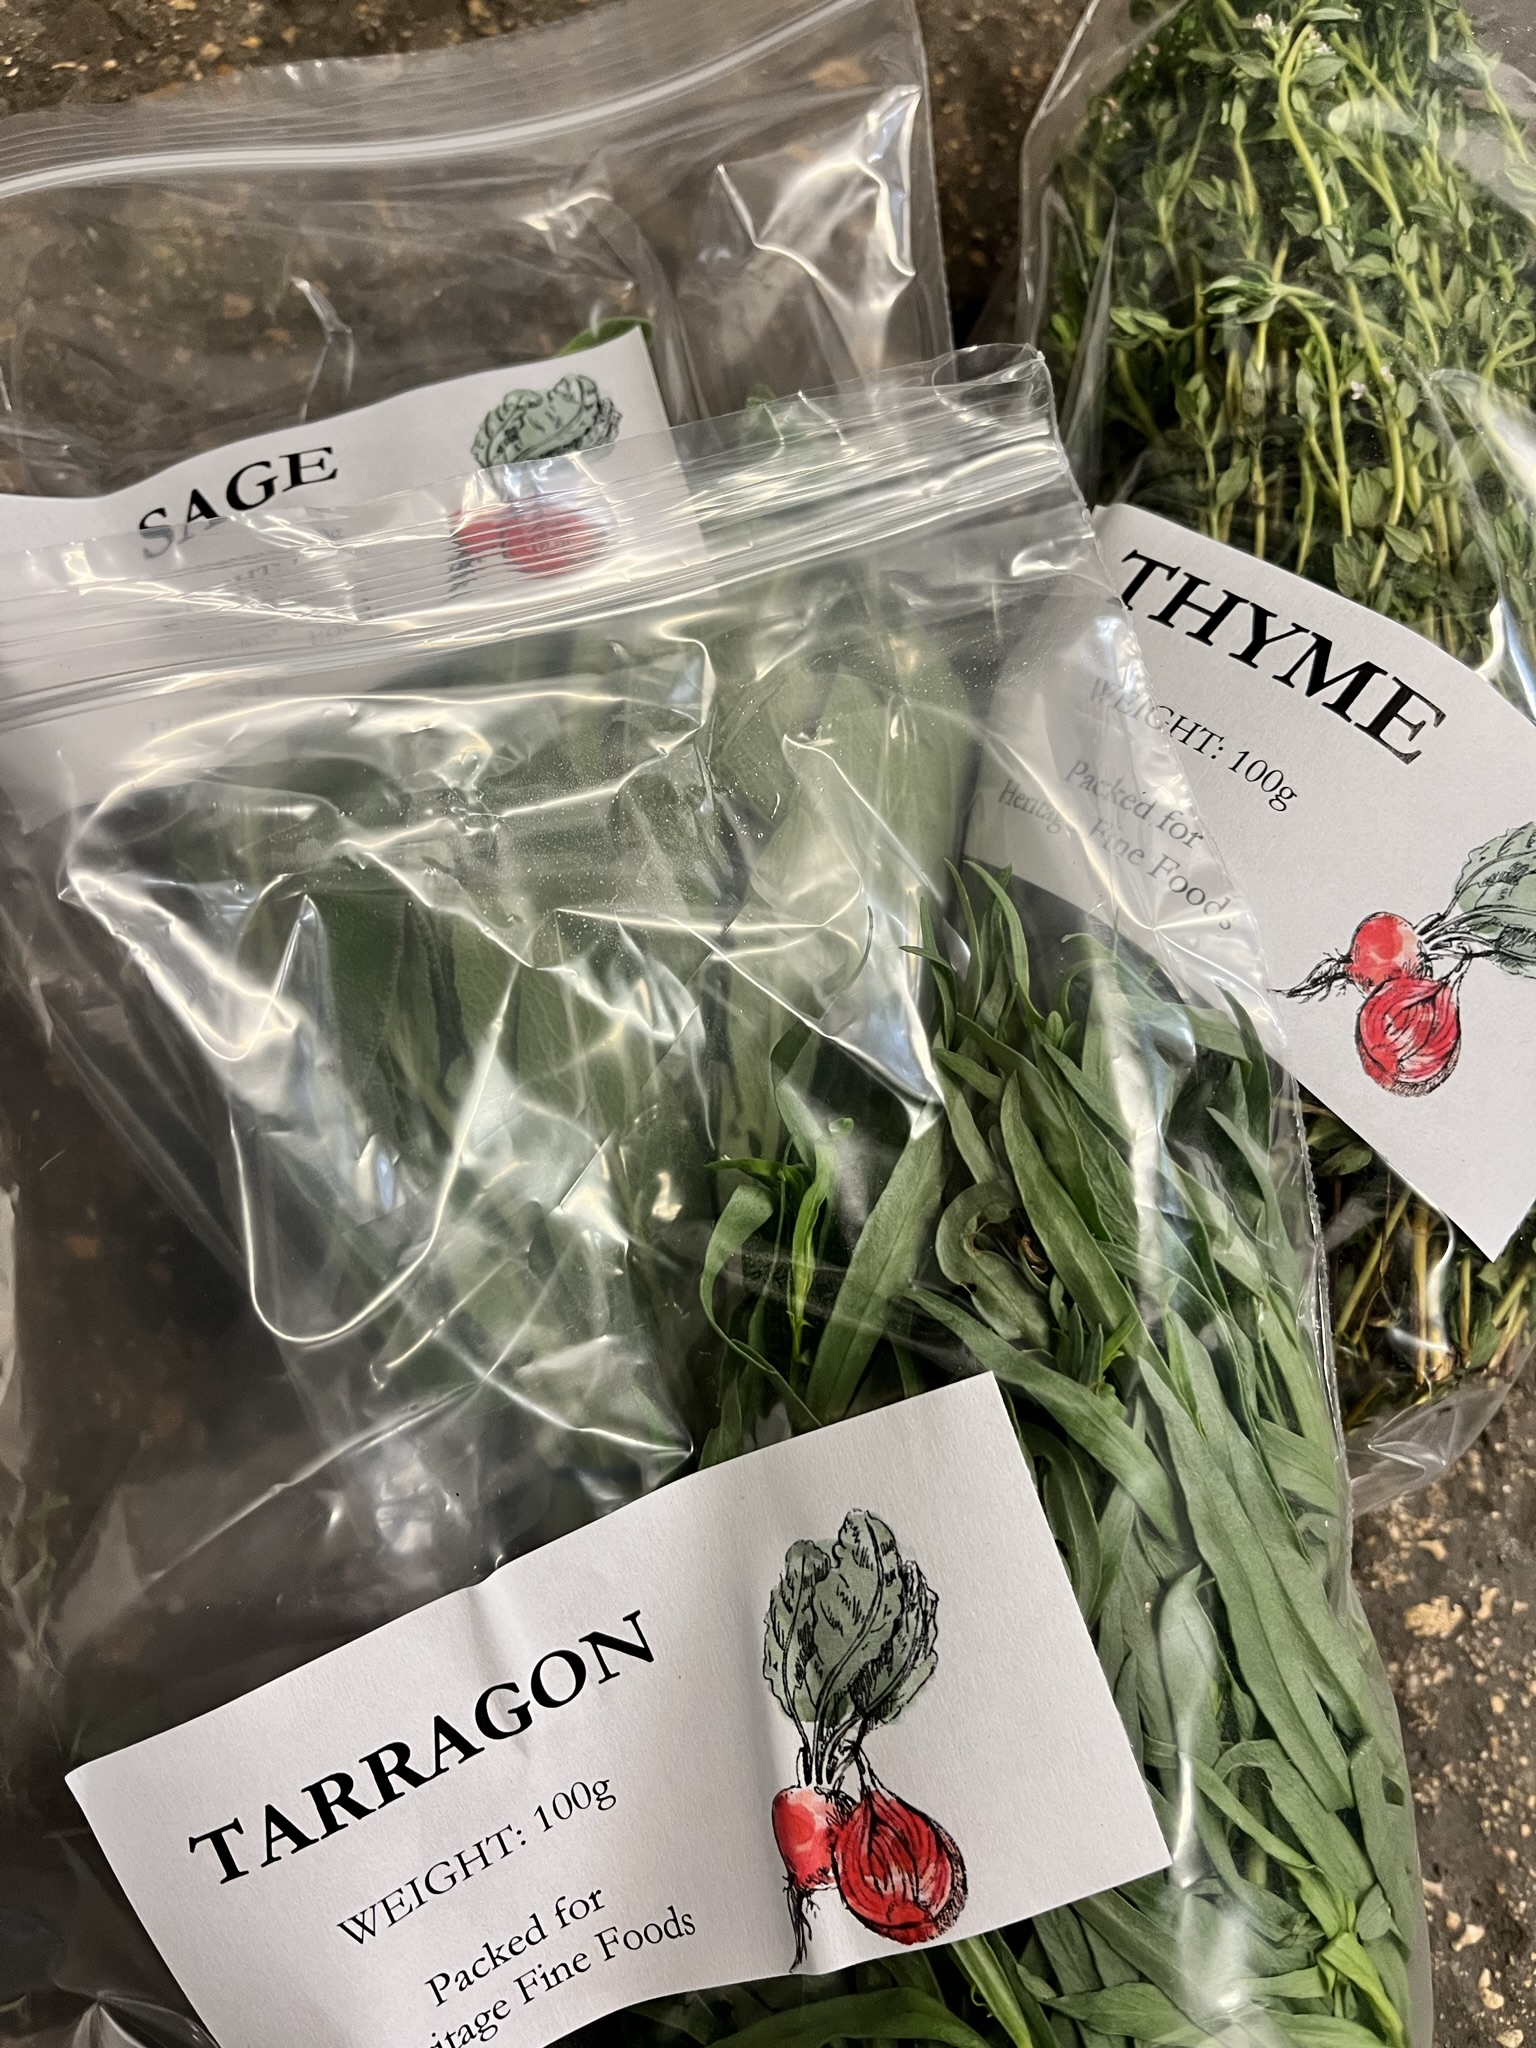
Fresh herbs go bad because of a number of different factors. Too much moisture on the leaves can turn them slimy, while too little moisture can cause them to dry out. Also, excess light can cause fresh herbs to yellow, and excess oxygen (and sometimes very cold temperatures) can turn them brown. The key is to find the herb’s happy place among these four factors: moisture, light, oxygen, and temperature. If you follow these methods, your fresh herbs will last about two to three weeks, but maybe even longer.
- Parsley – 3 weeks – Tender
- Coriander – 3 weeks – Tender
- Dill – 2 weeks – Tender
- Mint – 2 weeks – Tender
- Tarragon – 3 weeks – Tender
- Chervil – 1.5 weeks – Tender
- Basil – 2 weeks – Special
- Rosemary – 3 weeks – Hardy
- Thyme – 2 weeks – Hardy
- Sage – 2 weeks – Hardy
Wash them. Wash your herbs by filling your salad spinner with cold water. Swirl the herbs gently around in the water to loosen any debris. Drain the water, spin the herbs dry, set them on a layer of paper towels, and pat gently with more paper towels to blot away any excess moisture.
Store hardy herbs by arranging them lengthwise in a single layer on a slightly damp paper towel, rolling them up, then transferring the bundle to a plastic zip-lock bag or wrapping it in plastic wrap. Store in the fridge.
Store tender herbs by snipping off the bases of the stems and removing any discoloured or wilted leaves. Transfer them to a large jar with an inch of water in the bottom. Seal the jar with the lid (if it fits), or cover the top of the jar with an overturned plastic bag sealed with a rubber band. Store in the refrigerator.
Store basil by snipping off the bases of the stems and placing the bunch in a vase or a Mason jar with an inch or two of water at the bottom, just like a bouquet of flowers. Store at room temperature in a light area, but out of direct sunlight.
Freezing herbs
Frozen herbs can be used in most fresh-herb applications in which the herbs are even slightly cooked. Frozen herbs are particularly good for stirring into pasta sauces or pan sauces at the last minute, or for making herb-heavy sauces like pesto.
Covering chopped herbs in oil and freezing them solid is the best method to keep your fresh herbs tasting fresh for a long time. To do it, place chopped herbs in an ice cube tray, then top up the wells with a bit of light olive oil. Alternatively, if you have lots of herbs, place the whole leaves in a food processor, add a few tablespoons of oil, and process until finely chopped. Transfer this mixture to an ice cube tray and freeze.
Once frozen solid (this will probably take overnight), transfer the cubes to a zipper-lock bag for long-term storage. Use cubes of herbs wherever you’d add chopped fresh herbs to a cooked meal, such as in soups, stews, or pan sauces. Even directly out of the freezer, an oil-based cube of herbs will soften and melt much faster than an ice cube of equivalent size.
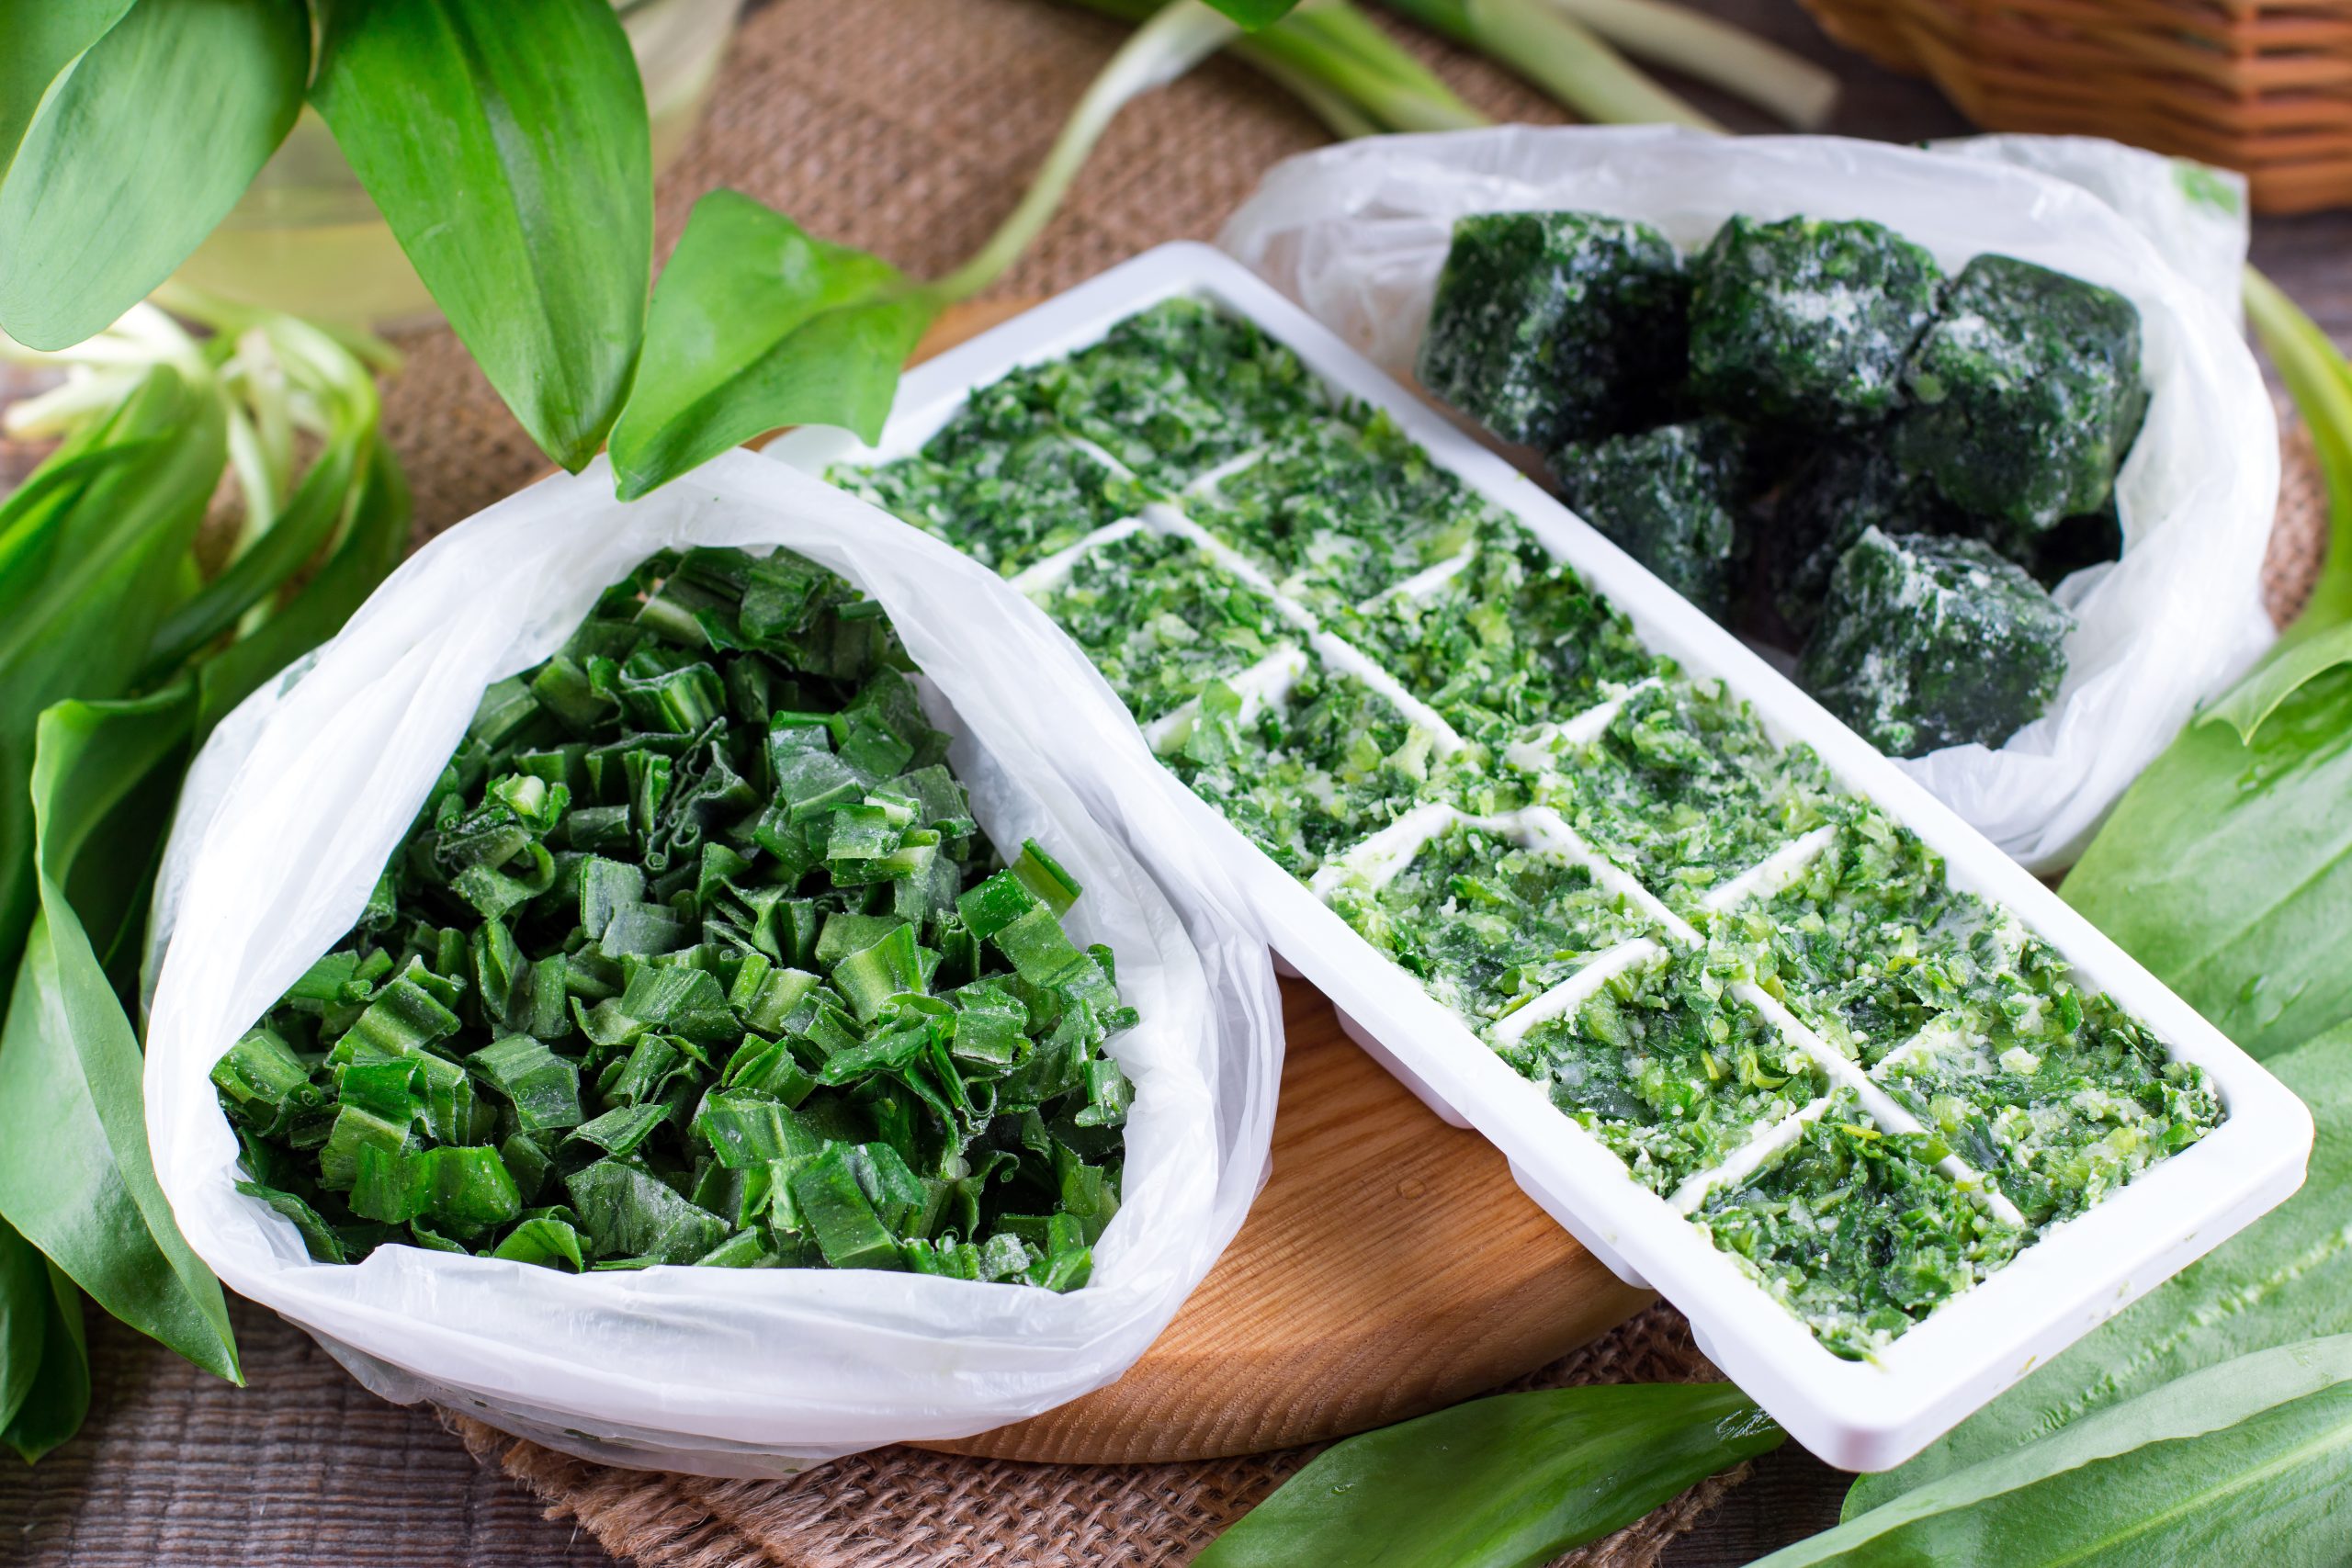
Alternatively, instead of using ice cube trays, place your chopped herbs and oil inside a zipper-lock bag. Seal the bag, leaving about a half-inch of space open, then carefully squeeze out excess air before sealing the bag completely. Now place that bag on a large plate or baking sheet, spreading out the herb mixture to a thin, even layer and place it in the freezer until completely frozen solid. It’ll freeze in record time, and even better, it’s much easier to use than solid ice cubes of frozen herbs. Just cut off as much as you need with a knife or kitchen shears, reseal the bag, and store the rest for later.
